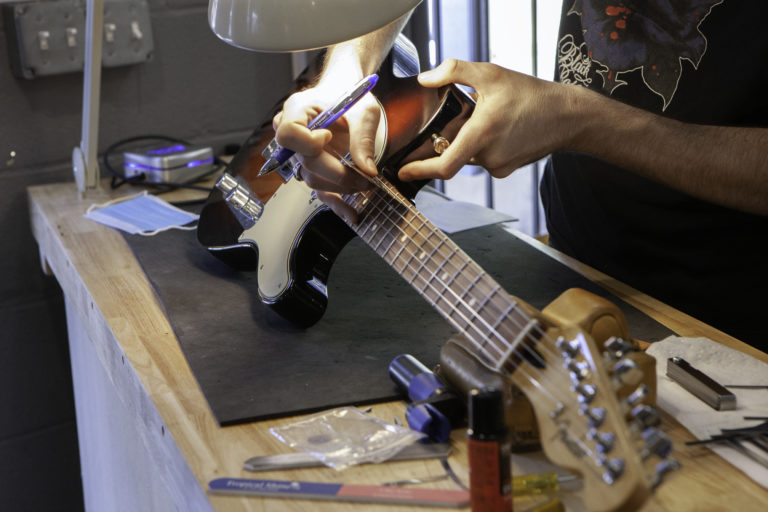
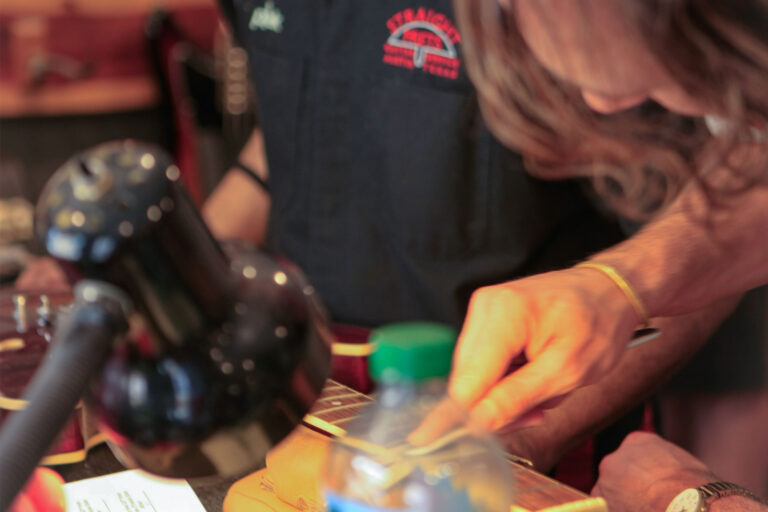
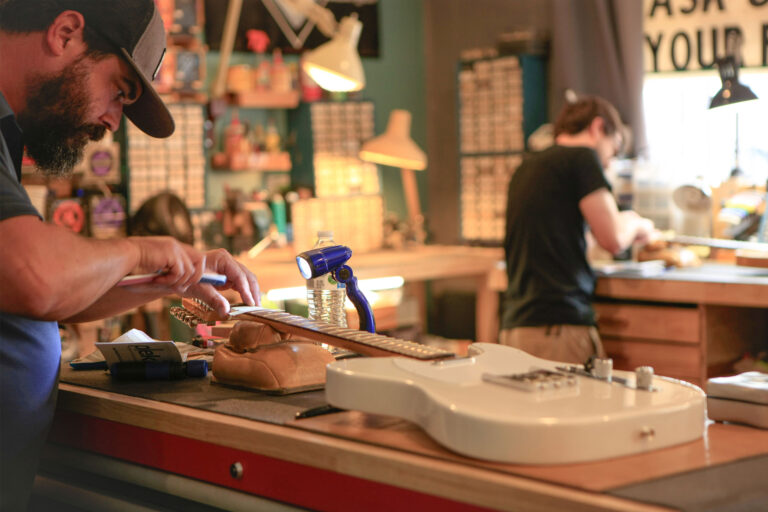
Straight Frets is an Austin-based guitar repair shop that strives for high quality service, exemplary customer service, and time efficient repairs. We are determined to put a smile on your face and a cleaned-up, smooth, and functional guitar in your hands one repair at a time.
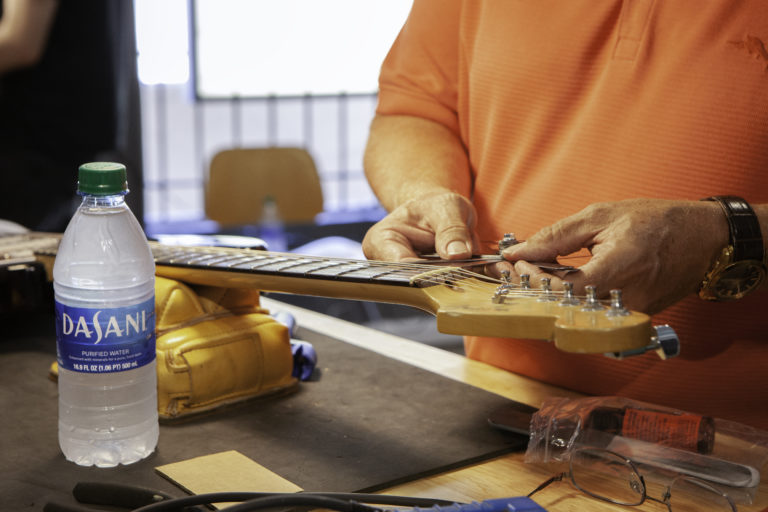
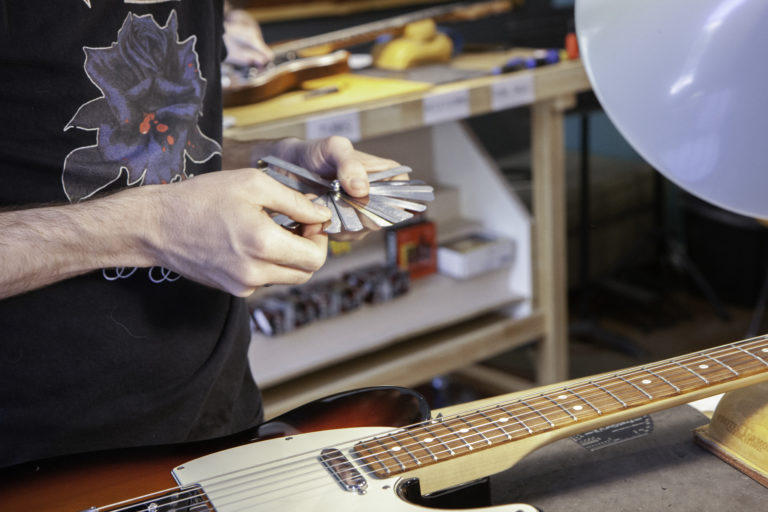
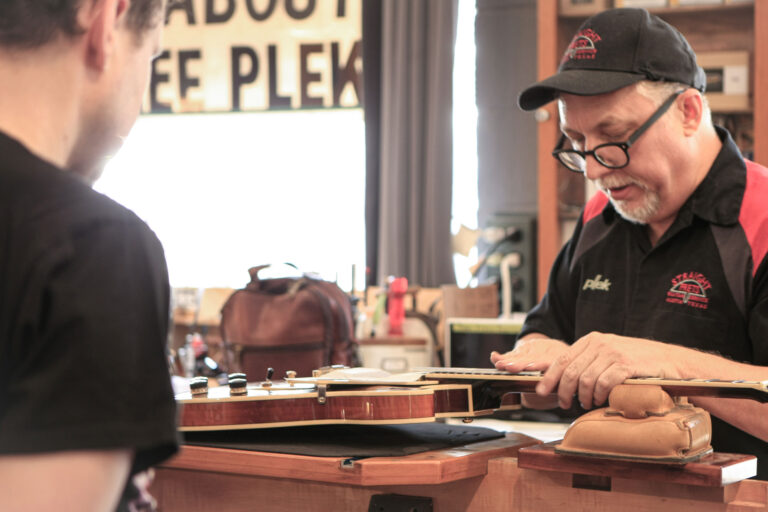
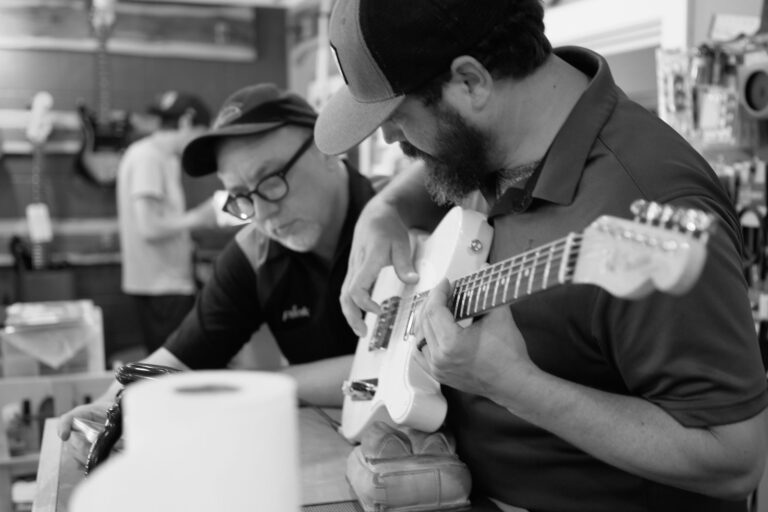
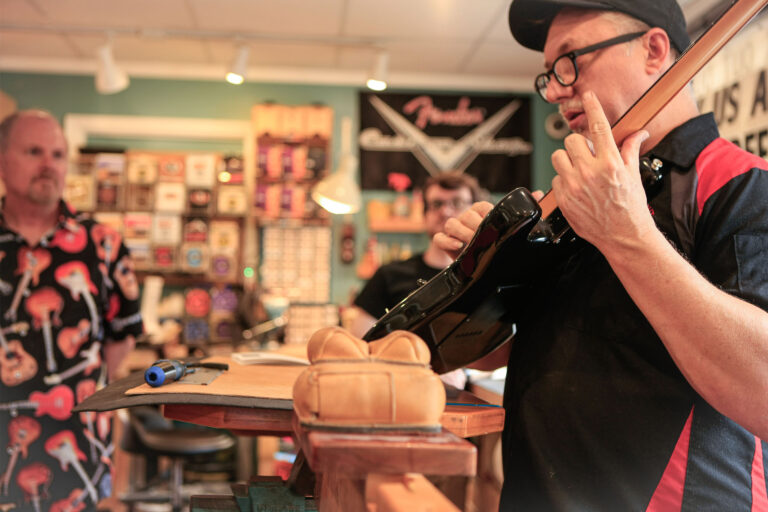
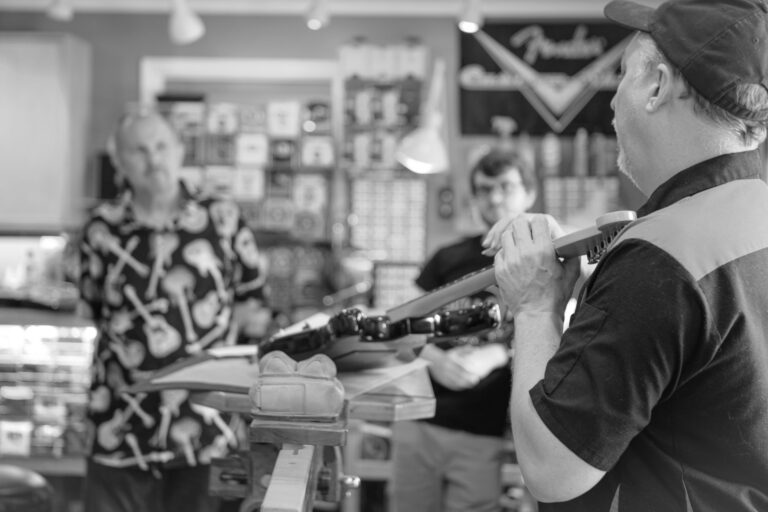
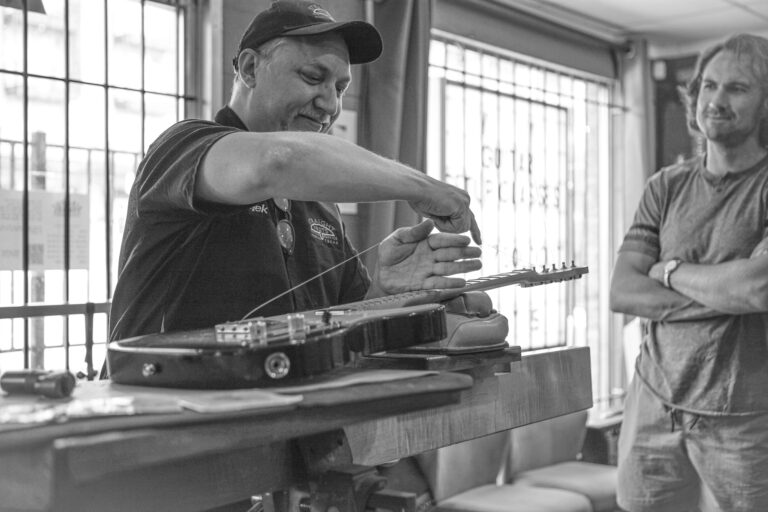
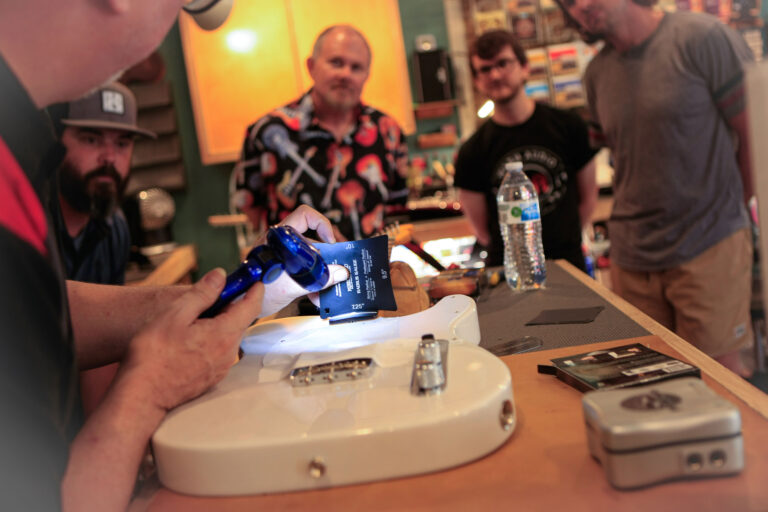
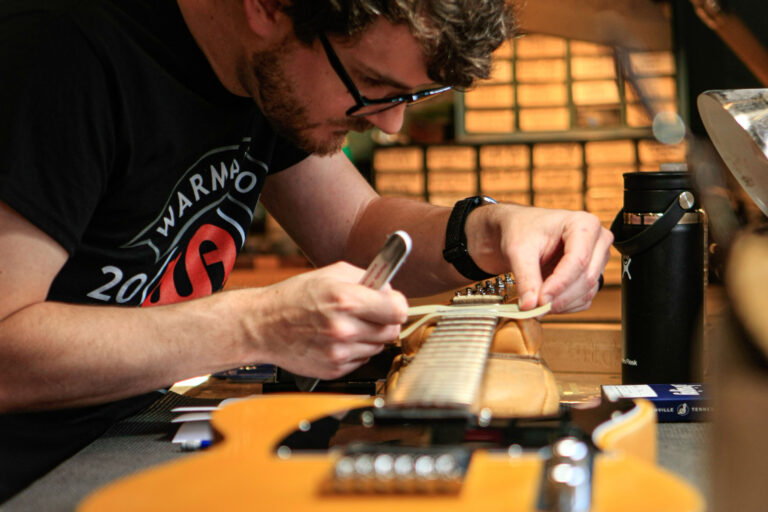
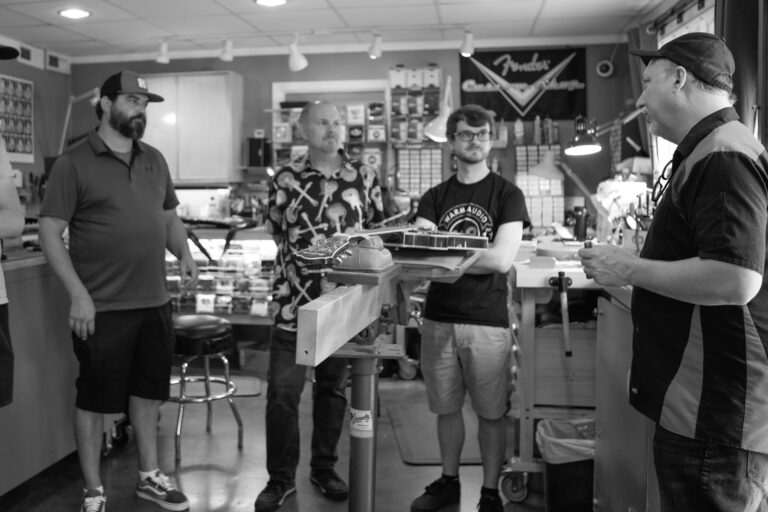
Want to learn how to repair guitars and which tools you need to do so? We are now offering guitar setup classes hosted every other Saturday afternoon by our trained and skilled luthiers on staff. Slots fill up fast, so reserve yours now before you miss your chance!